Let’s be honest: clipping into your Peloton for the first time is exhilarating right up until the moment you actually sit down. If the stock saddle is leaving you sore, bruised, or absolutely dreading your next ride, you are not alone.
Seat pain is the single most common complaint among new Peloton riders. The good news? You don't have to just "tough it out." Saddle soreness is highly solvable.
Here is exactly what to do to banish the pain and get back to enjoying your rides, starting with free adjustments and ending with the best hardware upgrades.
The Quick Troubleshooting Guide
| The Culprit | The Solution | Cost |
| Seat is too high/low | Adjust height so your leg has a slight bend at the bottom of the pedal stroke. | Free |
| Seat is too far back | Adjust depth so your knee aligns directly over the pedal axle. | Free |
| Posture is slouched | Hinge at the hips and push your sit bones back into the widest part of the saddle. | Free |
| Hard stock saddle | Add a Gel Seat Cover for instant surface cushioning. | Low |
| Saddle is too narrow | Upgrade to an Extra Wide Seat to properly distribute your weight. | Medium |
Step 1: Dial In Your Bike Geometry (The Free Fix)

Before you buy anything, make sure your bike is actually set up for your body. If your settings are wrong, your hips will rock back and forth with every pedal stroke, creating intense friction and bruising.
-
Check Your Height: Stand next to the bike and raise the seat until it is level with your hip bone. When you are clipped in and your foot is at the bottom of the pedal stroke (the 6 o'clock position), your knee should have a slight 5-to-15-degree bend.
-
Check Your Depth: When your pedals are parallel to the floor (the 3 o'clock and 9 o'clock positions), the front of your forward knee should be directly over the center of the pedal. If you are reaching too far forward or pushing too far back, adjust your seat slider.
Step 2: Correct Your Posture

A road bike saddle is designed to support your "sit bones" (the ischial tuberosities), not your soft tissue.
-
Push Back: Make sure your bum is pushed all the way back to the widest part of the saddle.
-
Hinge at the Hips: Don't round your lower back. Hinge forward from your hips and keep a light grip on the handlebars. This shifts the pressure off your sensitive areas and onto the bones designed to take the weight.
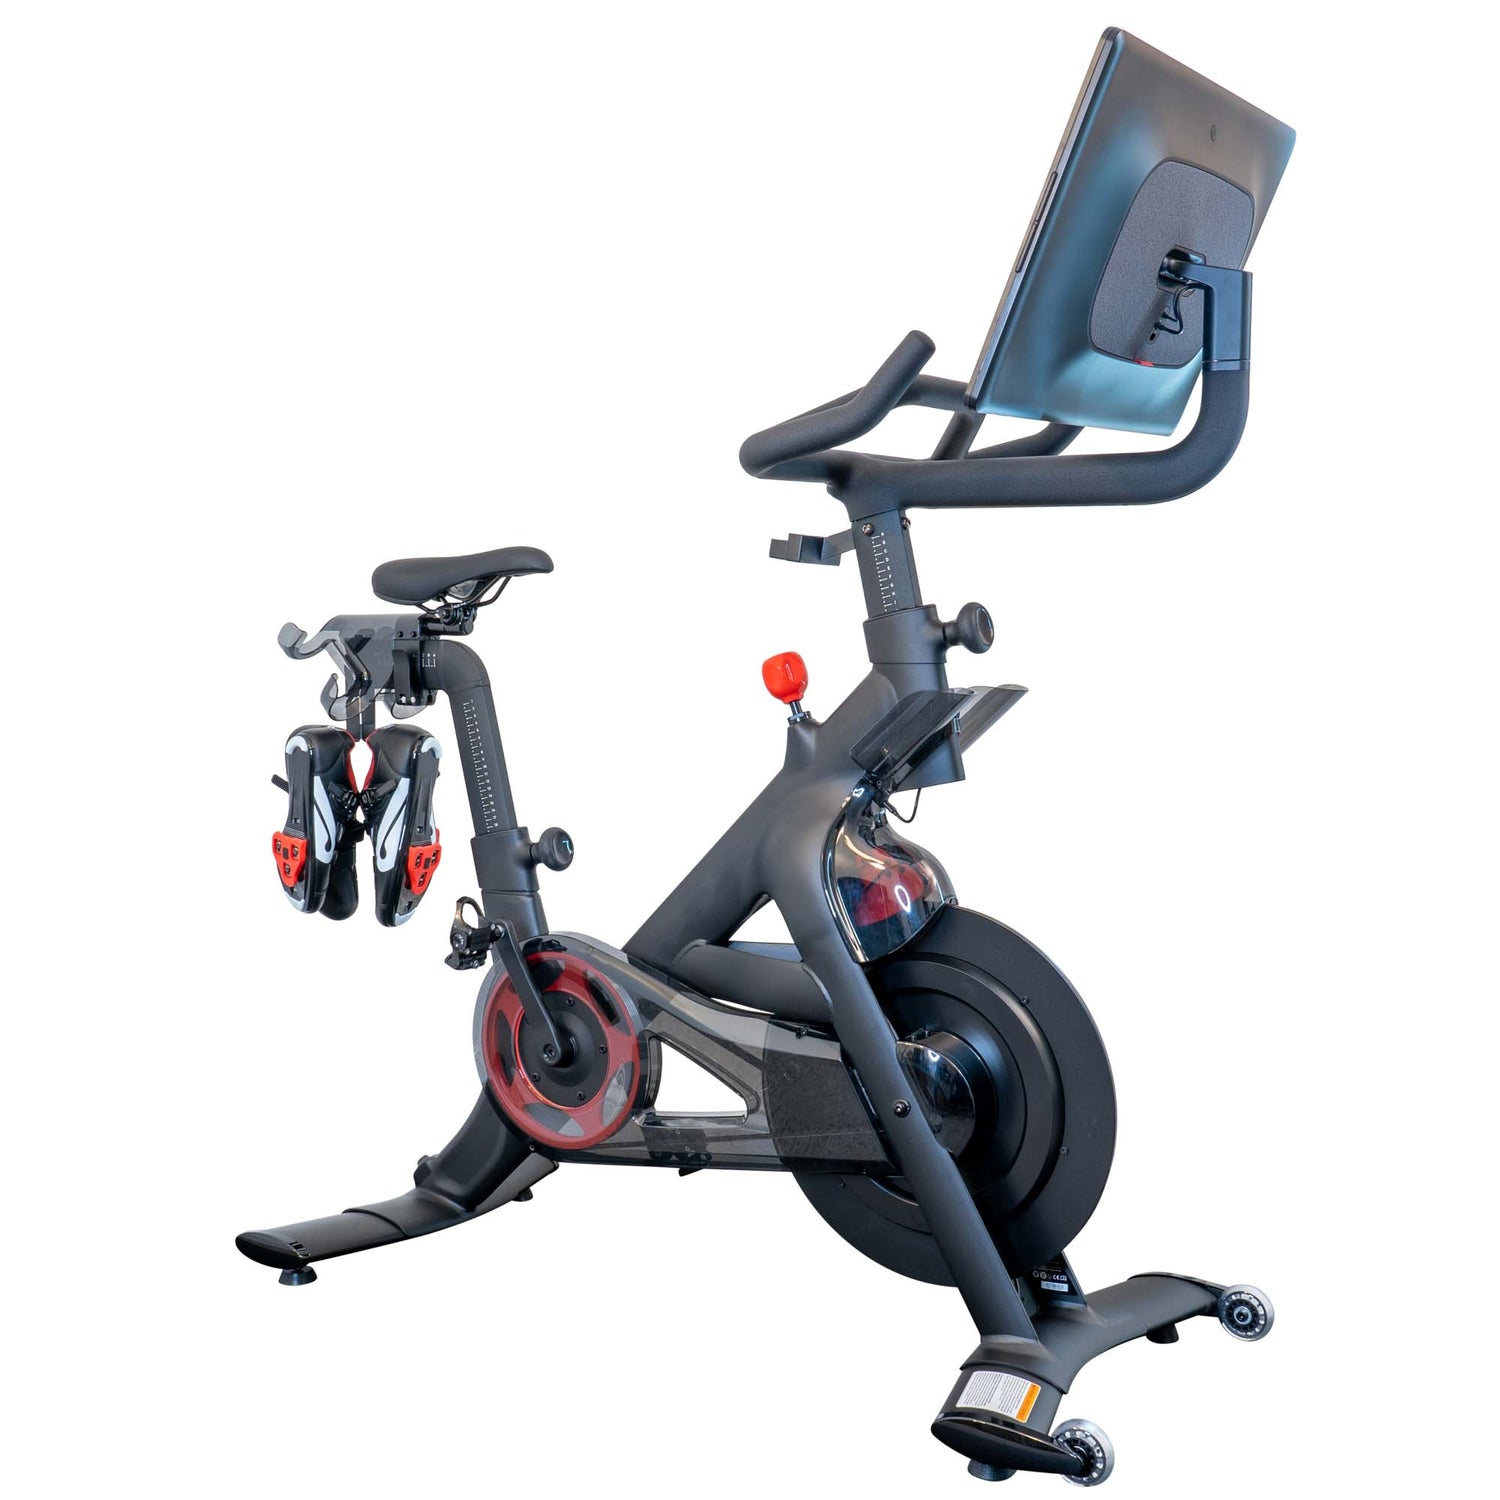
Step 3: Upgrade Your Hardware (The Solution)
If your form is perfect and your bike geometry is dialed in, but you are still in pain after two weeks of consistent riding, the stock saddle simply isn't a match for your anatomy. This is incredibly common. Instead of layering up in bulky padded cycling shorts every single time you want to ride, you can upgrade the bike itself.
The Quick Fix: Padded Seat Cover

If you share the bike with someone who actually likes the stock saddle, a seat cover is your best bet. The Padded Seat Cover slips directly over the original Peloton saddle and secures tightly with a drawstring. It adds a thick layer of ergonomic gel cushioning that absorbs shock and eliminates pressure points, and you can pull it off in seconds if needed.
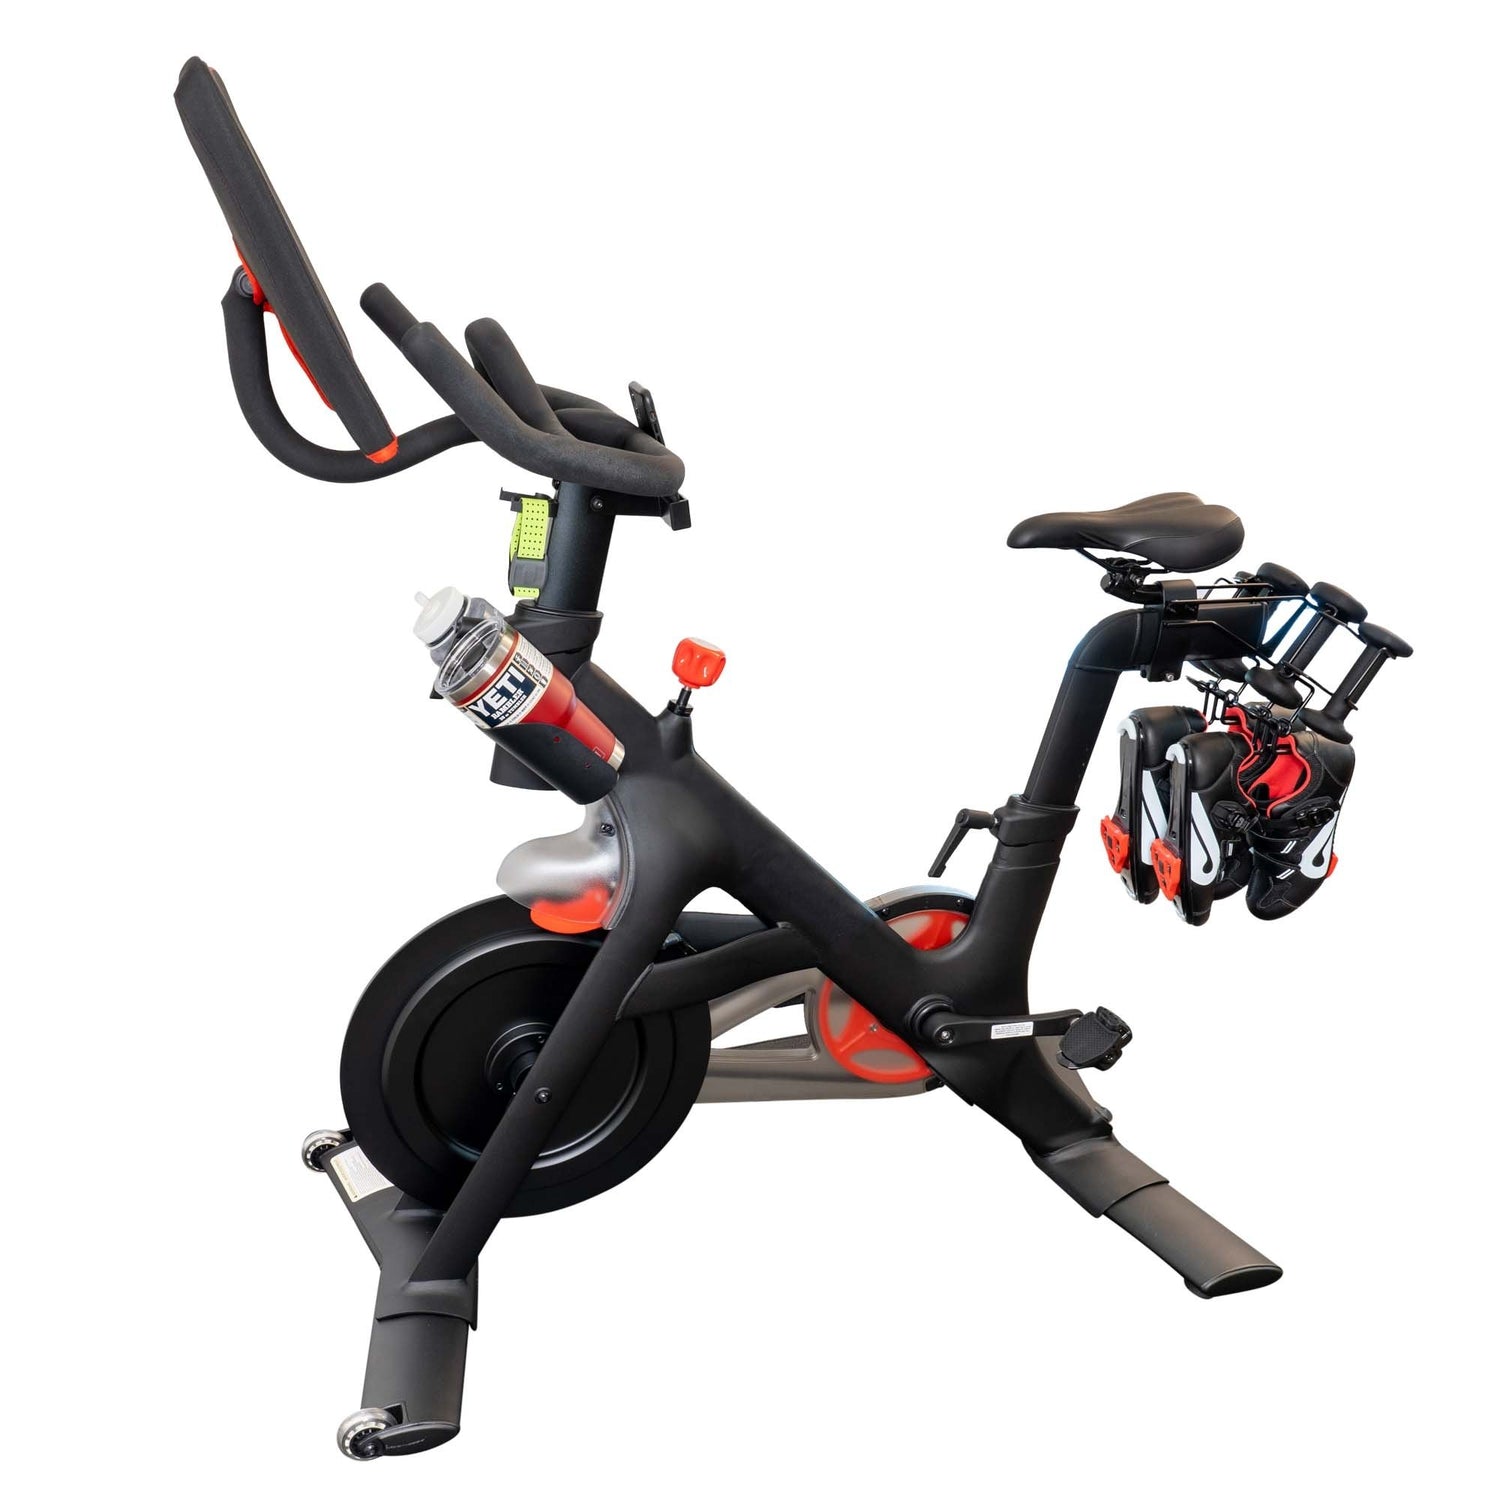
The Ultimate Fix: Extra Wide Seat

If you own the bike and want a permanent solution, it’s time to replace the saddle entirely. The Extra Wide Seat is engineered specifically to fix the Peloton's narrow design flaw. It features an oversized profile to properly support wider sit bones, dual-shock absorbing suspension beneath the seat, and high-density memory foam. It mounts directly to your Peloton in minutes and completely transforms the comfort of your ride.
The Bottom Line: Your sit bones do need a little time to adapt to a new workout routine, but severe pain isn't normal. Fix your form first, and if that stock seat is still holding you back from hitting your PRs, give yourself the gift of an upgraded saddle.